hands-on labKubernetes in your browser

Kubernetes Resource Requests & Limits: Who Gets What, and Who Survives

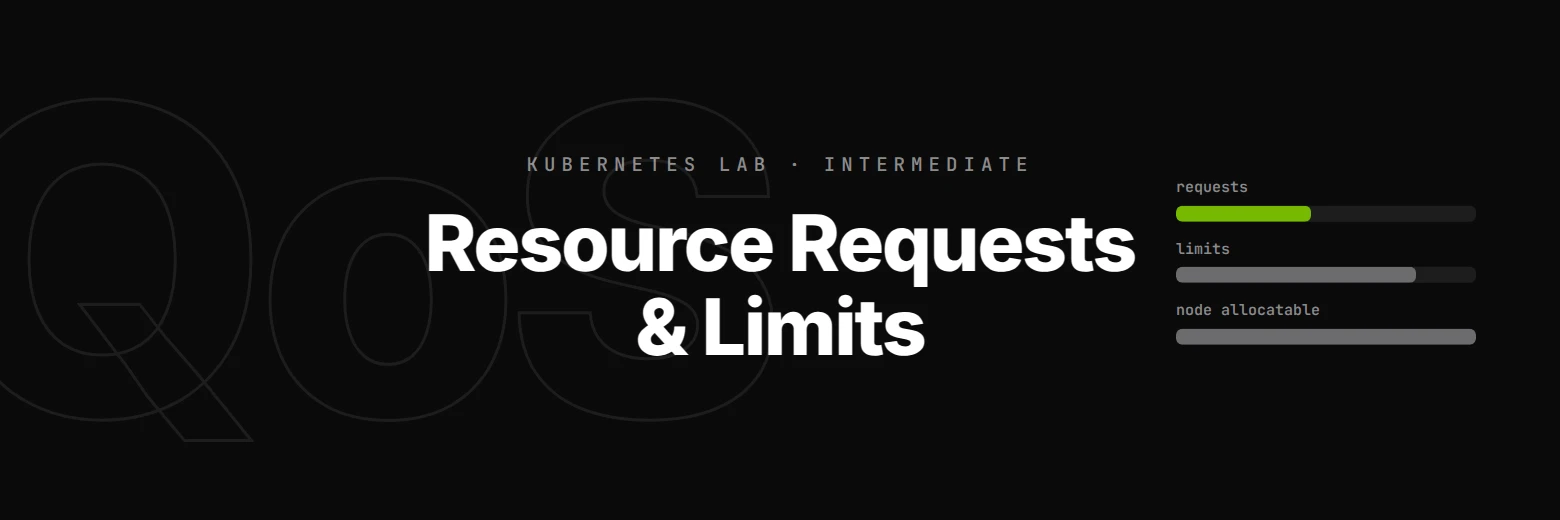
Master the most consequential six lines in any Kubernetes manifest: requests, limits, and how they decide scheduling, throttling, eviction, and survival under pressure.

time
40 min
checked steps
7
level
Intermediate
setup
None

$29.99a month with Pro

Pro opens this lab and every other one. Cancel any time.

The job

Imagine you and four teammates share a single Kubernetes cluster. Without rules, the loudest pod wins and oncall gets paged at 3am. This lab teaches you the rules, requests and limits, that turn a Wild West cluster into a system where workloads coexist predictably. Every concept is grounded in a real failure mode you'll see in production.

7 steps, each checked when you finish it

A check runs your work at the end of every step. Hints and the full solution are there if you get stuck.

  1. 1

    Admission: the rules before scheduling

    Imagine you and four teammates share a single Kubernetes cluster, say, 16 CPU cores and 64 GiB of RAM total, with two GPUs.

    read this step below ↓

  2. 2

    Requests: what the scheduler reserves

    You've now seen that LimitRange and ResourceQuota gate-keep at the namespace boundary.

  3. 3

    Limits: and the CPU controversy

    Requests are about the future, what will be reserved for you.

  4. 4

    QoS classes: who survives node pressure

    Kubernetes classifies every pod into one of three QoS classes (Quality of Service) the moment it's admitted.

  5. 5

    GPU resources: the rules that surprise everyone

    Now we zoom into nvidia.com/gpu.

  6. 6

    Putting it all together: a production-shape GPU pod

    You've now seen every concept the lab covers.

  7. 7

    Triage: fix what's broken in your cluster

    You've now learned the mental model.

Step 1 as it appears in the lab

The lab’s own text. The hint and the solution stay inside the lab.

Step 1: Admission: the rules before scheduling

The first layer of rules — admission

Imagine you and four teammates share a single Kubernetes cluster — say, 16 CPU cores and 64 GiB of RAM total, with two GPUs. Everyone deploys whatever they want. Whose pods get the resources? Whose get killed when memory runs out?

Without rules, the answer is: whichever pod was scheduled first usually wins, and whichever pod the kernel happens to pick when memory runs out is the one that dies. That's a recipe for late-night pages.

This is the problem resource requests and resource limits solve. But before any pod even reaches the scheduler, your cluster admins have probably set up two earlier checkpoints that filter out bad submissions: LimitRange and ResourceQuota.

The three layers a pod passes through

When you kubectl apply a pod, it goes through three checks before running:

  1. LimitRange — a per-namespace policy that:
    • Fills in default requests and limits for any container that didn't specify them.
    • Rejects the pod if any container asks for more than the per-container max.
  2. ResourceQuota — a per-namespace policy that sums all pods' requests and limits and rejects new pods that would push the namespace over its hard cap.
  3. Scheduler — only after admission does the scheduler look for a node with room.

Your lab namespace has both. Take a look at the actual numbers:

kubectl get limitrange -o yaml
kubectl get resourcequota -o yaml

Two things to find: the LimitRange's default / defaultRequest / max for cpu and memory, and the ResourceQuota's requests.cpu cap. Hold those in your head — you'll watch them in action below.

Demo 1 — a pod with no rules

Open unbounded.yaml. The pod has no resources: block at all. Apply it as-is:

kubectl apply -f unbounded.yaml

Now look at what actually got admitted:

kubectl get pod unbounded -o jsonpath='{.spec.containers[0].resources}'; echo

You didn't write a resources block — but there's one now. Compare its values against the LimitRange's default and defaultRequest. That's the LimitRange filling in the gaps at admission time.

Then ask Kubernetes what QoS class the pod landed in:

kubectl get pod unbounded -o jsonpath='{.status.qosClass}'; echo

We'll dig into what QoS class means in step 4 — for now, just notice the LimitRange has converted "no rules" into "default rules." A textbook BestEffort class (no requests, no limits anywhere) would only happen in a namespace without a LimitRange. In well-run production clusters, BestEffort is rare.

Demo 2 — a pod that asks for too much

Open over-max.yaml. It has TODOs to fill in — request and limit both set to a large CPU value (5 cores). The LimitRange max is 2 cores. Try to apply:

kubectl apply -f over-max.yaml

This will fail. The error message tells you which clause rejected it and what the limit is. The pod is never admitted — it won't show up in kubectl get pods. There's no "Pending" intermediate state, just a hard rejection at submission.

Why this matters in practice: LimitRange and ResourceQuota are the two main reasons a developer can't deploy without anyone touching the workload itself. If a pod is rejected with exceeded quota or maximum cpu usage per Container, the fix isn't a bigger cluster — it's a smaller request, or a conversation with the namespace owner about the cap. Recognizing these admission errors saves hours of staring at the wrong layer.

When you've verified unbounded is running with injected defaults and over-max was rejected at admission, click Run.

over-max.yaml, the file you edit20 lines
# This pod intentionally requests more CPU than the namespace
# LimitRange max allows. Fill in the TODOs and apply to observe
# the rejection at admission.
apiVersion: v1
kind: Pod
metadata:
  name: over-max
spec:
  restartPolicy: Never
  containers:
    - name: greedy
      image: docker.io/library/busybox:1.36
      command: ["sleep", "60"]
      resources:
        requests:
          # TODO: request 5 cpu cores (over the LimitRange max of 2)
          cpu: ______
        limits:
          # TODO: limit also 5 cpu cores
          cpu: ______

provided for you:unbounded.yaml
what you get

  • A Kubernetes cluster and terminal in your browser
  • A check at the end of every step
  • Hints and the full solution
  • Nothing to install or configure

before you start

  • Completed the welcome smoke-test lab
  • Comfortable reading and editing YAML
  • Familiar with kubectl get, apply, describe, logs

Exam domains covered

AI Infrastructure & OperationsGPU Acceleration & Distributed Training

Part of the GPU and Kubernetes track

Lab 4 of 20. GPU scheduling on your own Kubernetes cluster, the GPU Operator, CUDA kernels and profiling.

Questions about this lab

What's the difference between a resource request and a resource limit?

A request is what the scheduler uses, it's a reservation. The scheduler sums all pods' requests against each node's allocatable resources to decide where to place new pods, and against the namespace ResourceQuota to decide whether to admit them at all. A limit is what the kubelet and Linux kernel enforce at runtime via cgroups. CPU limits cause throttling (paused process); memory limits cause OOM-kill (terminated process). Requests determine placement; limits determine in-the-moment behavior.

Should I always set CPU limits on my pods?

No, and this is one of the most contested topics in production Kubernetes operation. CPU limits are enforced via Linux CFS bandwidth control, which can throttle a process even when the node has idle CPU available. For latency-sensitive workloads (HTTP APIs, gateways, real-time services), production teams routinely set CPU requests but omit CPU limits, the request gives the scheduler what it needs, while letting the pod use any spare CPU when available. Memory limits, on the other hand, should always be set, because the alternative is uncontrolled memory growth that triggers node-wide eviction. The lab demonstrates the throttling mechanism so you can make the call yourself.

Why is nvidia.com/gpu integer-only when CPU and memory are fractional?

GPUs are an extended resource in Kubernetes' resource model, and extended resources must be integers, the API server rejects fractional values. The reason isn't laziness: a CUDA context can't be safely split at the K8s API layer. If you want fractional GPU sharing, you need an explicit operator-level mechanism, MIG (hardware partitioning), time-slicing (software multiplexing without isolation), or MPS (NVIDIA's multi-process scheduler). Each is configured at the GPU operator before pods are scheduled, then advertises its partitions as separate resource types. We'll cover each in dedicated later labs.

What QoS class should production workloads aim for?

Guaranteed for almost anything important. The kubelet evicts pods in a strict order under node pressure: BestEffort first, then Burstable (with the noisiest neighbors going first), then Guaranteed. Guaranteed pods almost never get evicted unless the kubelet itself is dying. Achieving Guaranteed requires every container in the pod to have CPU and memory requests and limits set, with each request equal to its corresponding limit. For GPU jobs and stateful workloads this is non-negotiable, the cost of being evicted mid-training is much worse than the cost of CPU throttling.

What you'll learn

Resource requests and limits are the most consequential six lines in any Kubernetes manifest, but most engineers learn them by copy-pasting examples until something works. This lab teaches the why behind each line, the precise difference between request and limit, why CPU and memory enforcement are fundamentally different, and what actually happens during a node pressure event. You'll watch the kernel OOM-kill a container that exceeds its memory limit, watch CFS bandwidth control throttle a CPU-bound process even when the node is idle, and see Kubernetes reject pods at admission for exceeding the namespace ResourceQuota.

The lab also covers what most courses skip: the real-world controversy around CPU limits. Modern production teams routinely omit CPU limits on latency-sensitive workloads because the CFS bandwidth control mechanism causes throttling even on otherwise-idle nodes. You'll see the throttling happen, then learn the mental model, requests-only for latency-critical services, requests-and-limits for batch and untrusted workloads, always-set memory limits because OOM has no equivalent of throttling. By the end, you'll be able to read any pod manifest and immediately spot what failure modes its author has and hasn't defended against.