hands-on labon a real NVIDIA GPU

Fine-Tune an LLM with LoRA and QLoRA (Jupyter)

Fine-tune Meta Llama 3 8B on a custom instruction dataset using LoRA and QLoRA.

time
45 min
checked steps
7
level
Intermediate
setup
None
NCP-GENLNCP-ADSNCA-GENLPart of the AI Engineer Course

$29.99a month with Pro

Pro opens this lab and every other one. Cancel any time.

7 steps, each checked when you finish it

A check runs your work at the end of every step. Hints and the full solution are there if you get stuck.

  1. 1

    Explore the Base Model

    read this step below ↓

  2. 2

    Prepare the Training Dataset

  3. 3

    Understand LoRA: How It Works

  4. 4

    Fine-Tune with QLoRA

  5. 5

    Understanding Quantization: FP16 vs 4-bit

  6. 6

    Evaluate the Fine-Tuned Model

  7. 7

    Merge and Export

Step 1 as it appears in the lab

The lab’s own text. The hint and the solution stay inside the lab.

Step 1: Explore the Base Model

What You'll Build

In this lab, you'll take Meta Llama 3 8B — a raw base model with no instruction-following ability — and fine-tune it into a medical Q&A specialist. By the end, your model will go from incoherent text completion to structured, accurate clinical answers.

The journey:

  1. Explore what the base model can and can't do (spoiler: it can't follow instructions)
  2. Prepare a training dataset in the right format
  3. Understand LoRA — how and why it works
  4. Run QLoRA fine-tuning and watch loss decrease
  5. Understand quantization — FP16 vs 4-bit
  6. Evaluate: see the dramatic before/after difference
  7. Merge and export your fine-tuned model

Before fine-tuning, you need to understand what the model can't do. The base Llama 3 8B was trained on raw text — it predicts the next token, nothing more. It has never been taught to follow instructions or answer questions.

Ask it "What is diabetes?" and it'll respond with something like "What is diabetes? It is a disease that..." — just continuing the text pattern, not answering your question.

This is what makes fine-tuning so valuable: you take this raw capability and shape it into something useful.

Load the base model

Let's load Llama 3 8B (the base version — no instruction tuning).

In Hugging Face Transformers, you load models and tokenizers with from_pretrained():

tokenizer = AutoTokenizer.from_pretrained("model-path")
model = AutoModelForCausalLM.from_pretrained("model-path", ...)

Both are already imported above. The model path is stored in model_name. For loading the model, pass these two keyword arguments:

  • dtype=torch.float16 — half precision, uses ~16 GB VRAM instead of ~32 GB
  • device_map="auto" — automatically places layers on available GPUs

Fill in the two blanks:

import torch
from transformers import AutoModelForCausalLM, AutoTokenizer

model_name = "/models/meta-llama--Meta-Llama-3-8B"

# Load the tokenizer
tokenizer = ______
tokenizer.pad_token = tokenizer.eos_token

# Load the model in float16 on GPU
model = ______

print(f"Model loaded: {sum(p.numel() for p in model.parameters()) / 1e6:.0f}M parameters")
print(f"VRAM used: {torch.cuda.memory_allocated() / 1e9:.1f} GB")

Test the base model

Now let's send medical questions to the base model. Pay attention to how it responds — it should not answer the questions properly. Instead, it will just continue the text pattern (like autocomplete).

This is the behavior we'll fix through fine-tuning. Run the cell below (no changes needed).

prompts = [
    "What are the first-line treatments for Type 2 diabetes?",
    "A patient presents with sudden chest pain and shortness of breath. What is the most likely diagnosis?",
    "List the contraindications for metformin.",
]

for prompt in prompts:
    print(f"\n{'='*60}")
    print(f"Q: {prompt}")
    print(f"{'='*60}")

    # Base model has no chat template — just feed raw text
    inputs = tokenizer(prompt, return_tensors="pt").to("cuda")

    with torch.no_grad():
        output = model.generate(
            **inputs,
            max_new_tokens=150,
            temperature=0.7,
            do_sample=True,
            pad_token_id=tokenizer.eos_token_id,
        )

    response = tokenizer.decode(output[0][inputs['input_ids'].shape[1]:], skip_special_tokens=True)
    print(f"A: {response}")

print("\n\nNotice: the base model doesn't answer questions — it just completes text.")
print("After fine-tuning, it will actually follow instructions and give structured answers.")

See how the base model just rambles? It might repeat the question, continue with loosely related text, or go off on tangents. It has knowledge about medicine (it was trained on internet text) but it has no ability to follow instructions.

By Step 6, your fine-tuned model will answer these same questions with structured, concise responses.

Click Check Step 1 below when you're ready to continue.
what you get

  • A JupyterLab notebook on a real NVIDIA GPU
  • A check at the end of every step
  • Hints and the full solution
  • Nothing to install or configure

before you start

  • Basic Python (functions, loops, dicts)
  • Familiarity with PyTorch tensors
  • Understanding of what LLMs are and how they generate text

Exam domains covered

Fine-Tuning & Data PreparationGPU Acceleration & Distributed TrainingEvaluation, Monitoring & Safety

Part of the LLM training and fine-tuning track

Lab 1 of 14. LoRA and QLoRA fine-tuning, DPO alignment, and a tokenizer and tiny GPT built from scratch.

Questions about this lab

Why do I need to explicitly reset IPython output history between the LoRA steps?

Because JupyterLab silently caches every cell's return value in Out[<n>] plus the _, __, ___ shortcuts. If a cell ever returned a tensor or a model, that reference pins the whole computation graph, del model doesn't free it. Step 4 unloads the Step 3 model before loading the 4-bit base, and the cleanup has to call get_ipython().run_line_magic('reset', 'out -f') plus gc.collect() plus torch.cuda.empty_cache() in that order. Skip the history reset and the new QLoRA load OOMs on a 24 GB card. This isn't a quirk of this lab, it's how you work with large models in any notebook.

Why plot the loss curve inline instead of using TensorBoard?

Because a 100-step training run finishes in ~3 minutes inside one notebook kernel; spinning up TensorBoard would take longer than watching the loss land. Step 4 also passes report_to='none' and disable_tqdm=True, tqdm progress bars render as literal \r garbage in notebook output, and uses a custom TrainerCallback.on_log that prints one clean Step N/M | loss=... | lr=... line per step. The final matplotlib cell reads trainer.state.log_history and draws training loss with validation checkpoints overlaid as red dots, right next to the cell that produced it.

What's the practical difference between PeftModel.from_pretrained and merge_and_unload()?

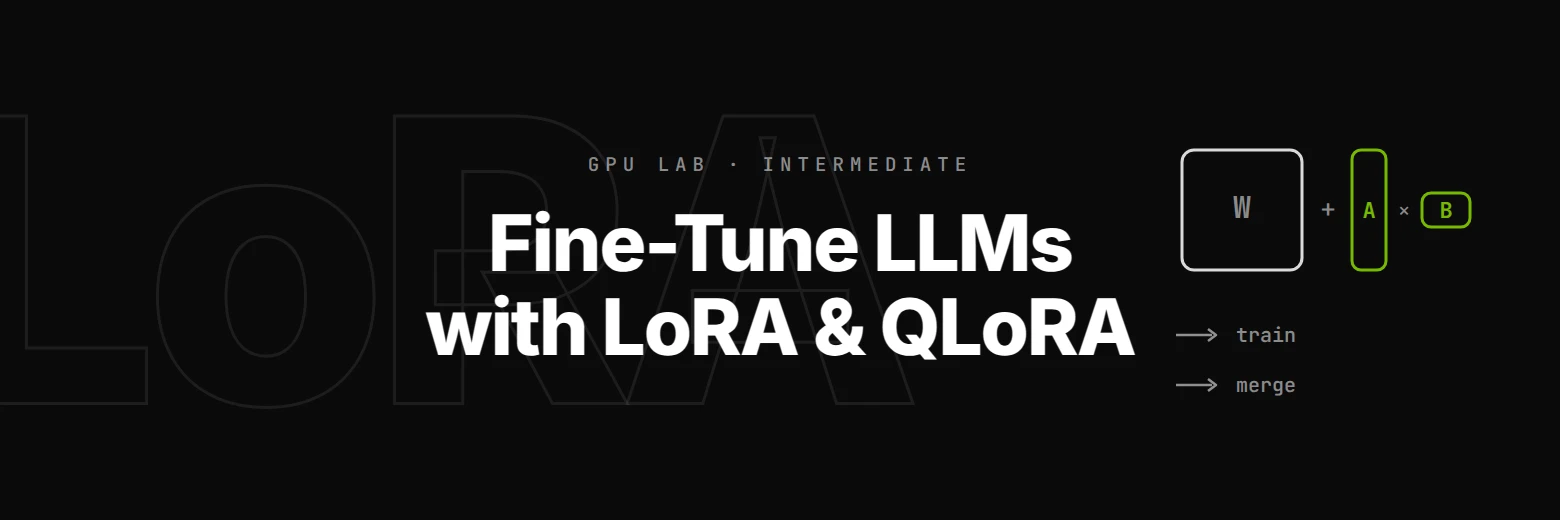
PeftModel.from_pretrained(base, path) loads the ~30 MB adapter on top of the base in memory, the base tensors are shared, not copied, so you can toggle the adapter on and off with disable_adapter_layers() / enable_adapter_layers(). That's what Step 6 uses to compare base-vs-fine-tuned perplexity from a single loaded model. merge_and_unload() in Step 7 computes W + (α/r) × B @ A for each adapted projection, writes that back into the base weights, drops the PEFT wrapper, and returns a plain LlamaForCausalLM you can hand to vLLM or TensorRT-LLM. One is a runtime composition; the other is a permanent bake-in.

Why does the lab use bnb_4bit_compute_dtype=torch.float16 if weights are stored in 4 bits?

Because compute precision and storage precision are independent knobs. NF4 storage keeps each weight as 4 bits plus a per-block absmax; when a matmul happens, those values are dequantised on the fly into the compute_dtype and the actual arithmetic runs in FP16. FP16 compute is fast on the RTX-class cards this sandbox uses and matches the activation dtype, so no extra casts. On H100 / A100 you'd typically switch to bnb_4bit_compute_dtype=torch.bfloat16 for better numerical headroom during backprop.

How much VRAM should I expect to see in Step 5's chart?

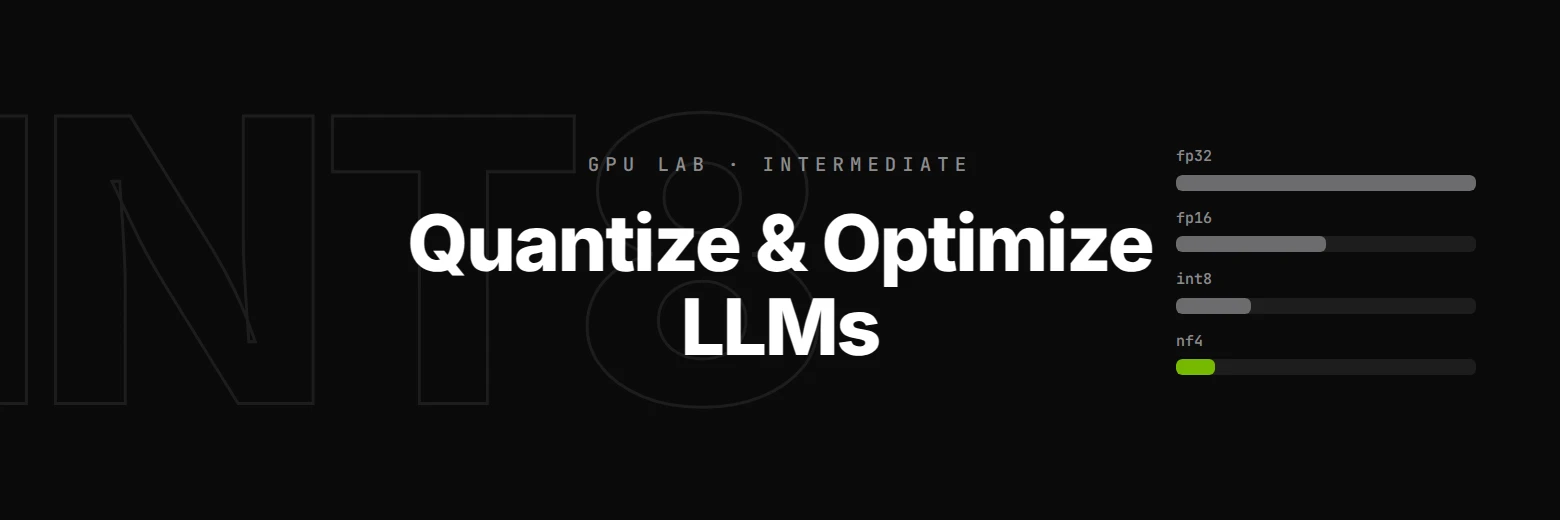
Llama 3 8B weighs about 32 GB in FP32, ~16 GB in FP16, ~8 GB in INT8, and ~5 GB in NF4. Step 5 measures the NF4 size directly via torch.cuda.memory_allocated() and reloads the FP16 variant in a comparison cell. The matplotlib chart overlays a 24 GB RTX 4090 limit line so the visual punchline lands: FP16 barely fits and leaves no room for optimizer state plus activations plus a KV cache for evaluation, while NF4 leaves ~19 GB free, which is what enables training plus eval plus a running notebook kernel to coexist without OOMs.

Can I re-run a single step without burning through the whole notebook again?

Yes. Because the kernel persists and Steps 2 and 4 save checkpoints to disk (train_data/, val_data/, lora-output/final/), you can close the tab at any point and reopen the notebook. Step 6's eval can be re-run from just PeftModel.from_pretrained(base_model, 'lora-output/final') without redoing Step 4. The same sandbox resumes in the same pod, a kernel restart plus re-running the cleanup cells is usually all you need. That's the entire reason the lab writes adapters to disk at Step 4 instead of holding them purely in memory.

What you'll build in this QLoRA-in-JupyterLab lab

LoRA and QLoRA are the highest-leverage LLM skills of 2026, fine-tuning a Llama-class model on a consumer-grade GPU used to be a multi-node distributed training job, and now it's a 45-minute project you run in one notebook. You'll walk away with a fine-tuned Llama 3 8B medical Q&A model merged to a deployable checkpoint, a working mental model of rank (r=16), alpha (α=32), and which projections to adapt (q_proj, k_proj, v_proj, o_proj), the VRAM math that separates FP16 (won't fit on a 4090 once you add optimizer state) from NF4 (15+ GB headroom for training plus eval plus a running kernel), and live loss/perplexity curves rendered inline with matplotlib as the run progresses. No pip install, no CUDA driver wrangling, you land in a live NVIDIA pod with Llama 3, PEFT, bitsandbytes, and a JupyterLab kernel already running.

The technical substance is the three-way interplay between parameter-efficient fine-tuning, 4-bit quantization, and notebook-resident state. LoraConfig(r=16, lora_alpha=32, target_modules=['q_proj','k_proj','v_proj','o_proj']) trains under 1% of parameters while still shifting the model's behavior; BitsAndBytesConfig(load_in_4bit=True, bnb_4bit_quant_type='nf4', bnb_4bit_use_double_quant=True, bnb_4bit_compute_dtype=torch.float16) stores weights as NF4 quantiles fitted to the normal distribution then dequantizes on the fly for FP16 compute. You'll see directly why merge_and_unload() (the W + (α/r) × B @ A bake-in that hands you a plain LlamaForCausalLM) is different from PeftModel.from_pretrained (runtime composition with togglable adapters), and you'll hit the Jupyter-specific trap that catches everyone their first time: del model doesn't free VRAM because IPython's Out[] cache plus _, __, ___ pin the whole computation graph. The correct cleanup is %reset out -f then gc.collect() then torch.cuda.empty_cache() in that order, otherwise the 4-bit reload OOMs on a 24 GB card despite the NF4 footprint being a quarter of FP16.

Prerequisites are basic Python, a rough grip on PyTorch tensors, and knowing that LLMs predict the next token, no prior PEFT or QLoRA experience assumed. The sandbox is a real NVIDIA GPU pod we provision per session with JupyterLab, HuggingFace transformers, peft, bitsandbytes, datasets, matplotlib, and the Llama 3 8B base checkpoint all preinstalled and pinned to compatible versions. Checks run inline after each step (from preporato_labs import Lab; lab = Lab(...).check(N)) against kernel-resident state and on-disk artifacts, adapter_config.json must show r==16 with q_proj in target_modules, ft_ppl < base_ppl after training, and safetensors under merged-model/ at the end. The merged checkpoint is drop-in ready for vLLM or TensorRT-LLM, which is where you take it next.